User’s guide
This application is designed to simulate the operation of radar with objects.
Installation
First, create a virtual environment:
python3 -m venv venv
Activate virtual envirenment:
source ./venv/bin/activate
Ather that install necessary python packages:
python3 -m pip install -r requirements.txt
Now, you can run application:
python3 main.py
Usage
Apperance
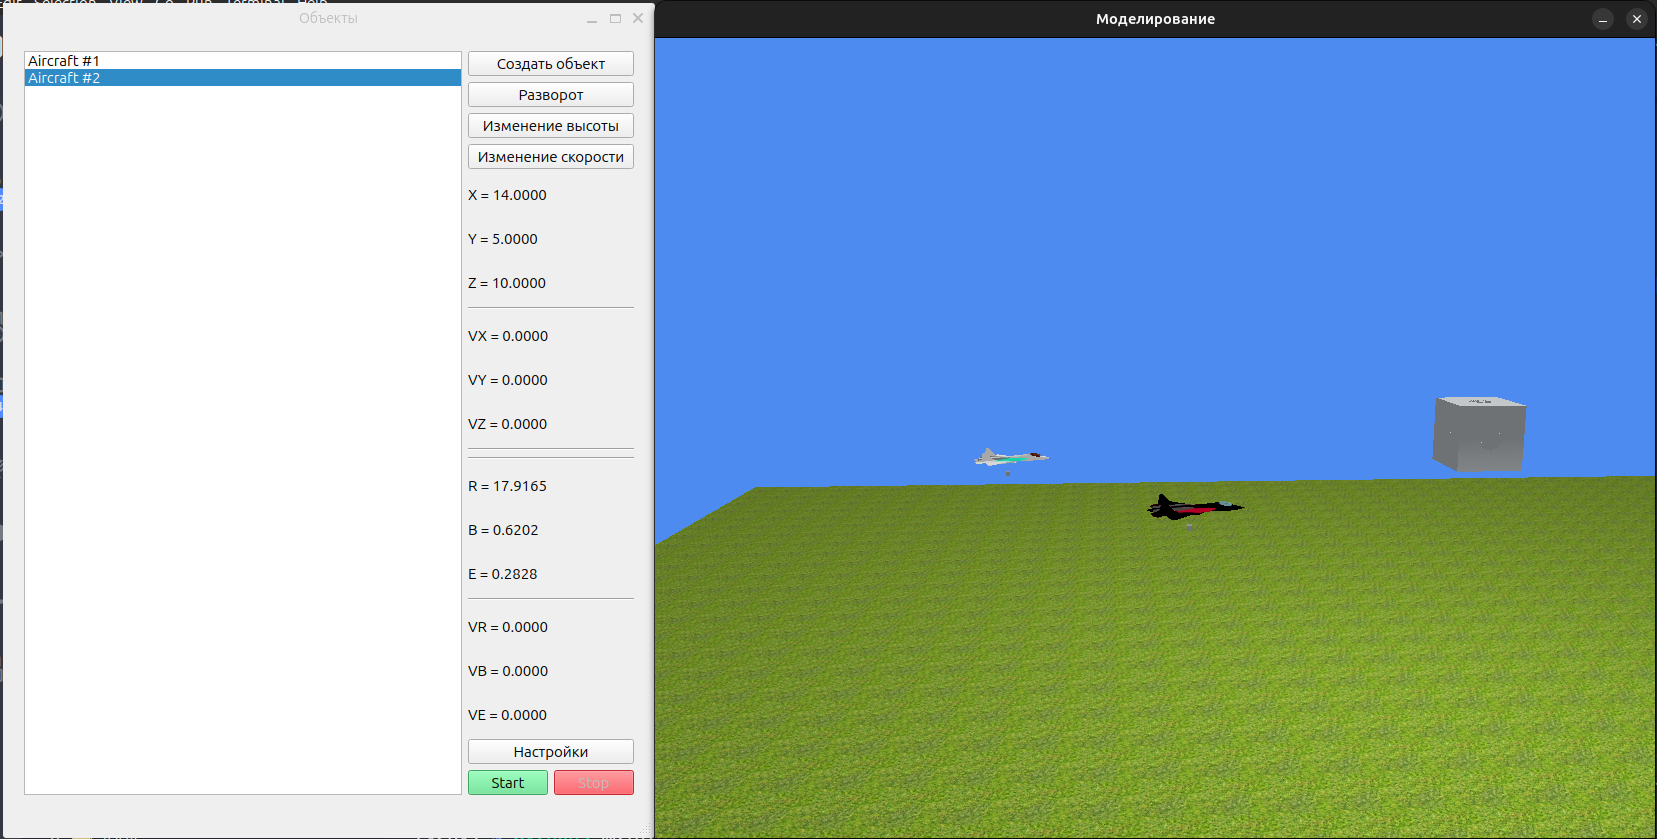
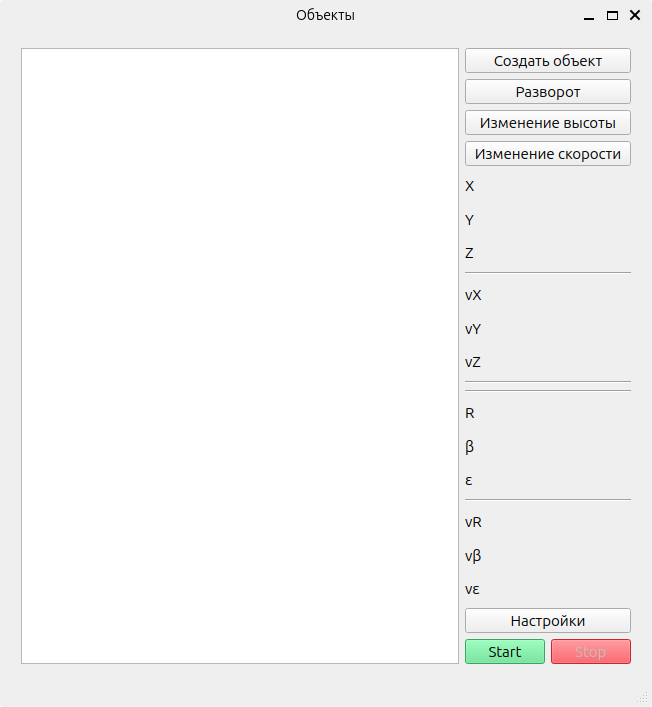
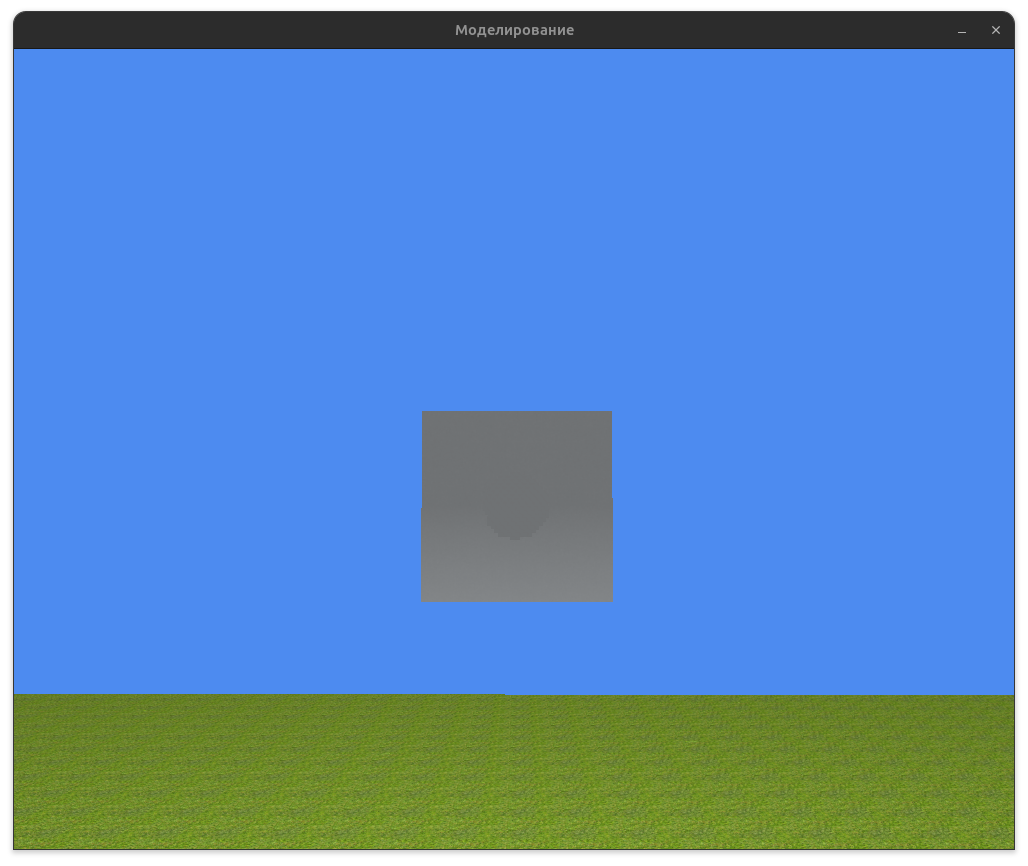
Now let’s look at the application. At startup, two windows appear first. The first is a window with all the objects, buttons, and coordinates of the object. The second window is a window with visualization
Controls
There are two ways to control visualization. The first of them is to control the keys on the keyboard
Keyboard Controls
W, A, S, D - moving forward, backward, right, left
Q, E - lifting up, down
ESC - exit the application
O - creating a new application
V - maneouver “Speed changes”
ESC - exit the application
O - creating a new application
V - maneouver “Speed changes”
C - maneouver “U-turn”
H - maneouver “Altitude change”
I - show/do not show signals
P - release a signal
T - show/not show trajectories
M - start/leave modeling
Left arrow - select an object that was created earlier
Right arrow - select the object that was created later
When using the keys that create a manoeuvre for an object, a window with manoeuvre settings will appear
Window Controls
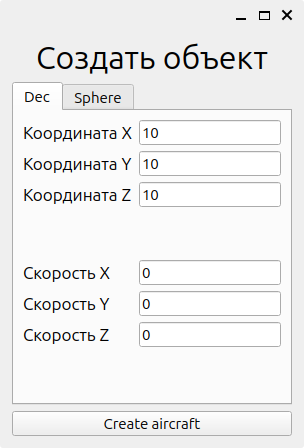
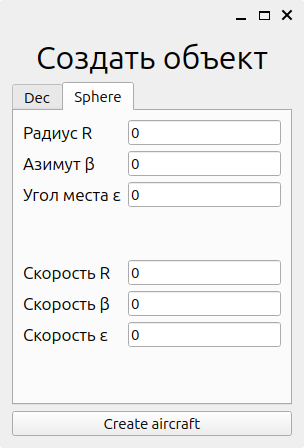
When you click on the “Создать объект” button, the following window opens. There are two tabs on it where you can specify coordinates in different coordinate systems.
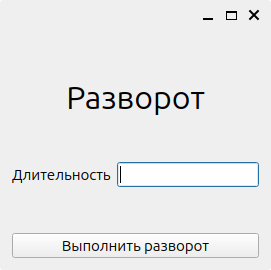
When you click on the “Разворот” button, a window opens in which you can set the turn time. It will open only if there is at least one object in the simulation. This also applies to buttons “Изменение высоты” and “Изменение скорости”
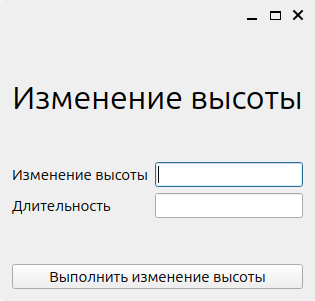
When you click on the “Изменение высоты” button, a window opens in which you can set the required height and time of changing height.
When you click on the “Изменение скорости” button, a window open in which you can set the required speed components.

If there are two planes in the visualization, then you can choose between them, both in the interface and through the keys. The selected object is highlighted in white. Geocentric coordinates and Cartesian coordinates are displayed for it